Bottle tower gardening: how to start?

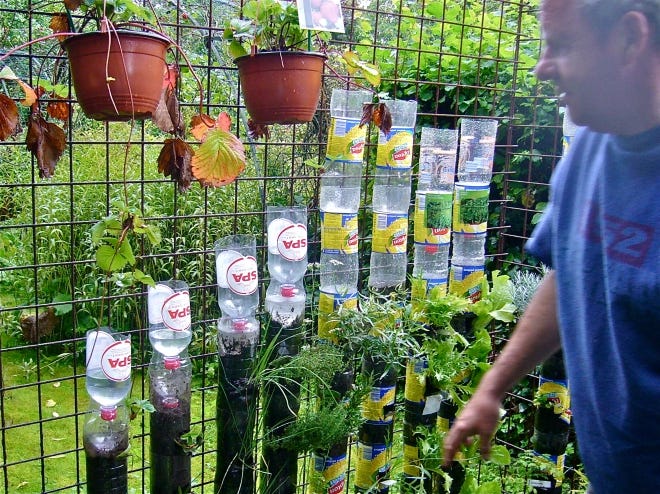
Together with my friend Gilbert Van Damme from Zaffelare, Belgium, we have conducted successful experiments with vertical gardening in container towers. We use various recycled containers, such as plastic bottles, pots, and buckets, which are stacked into towers.
In this video, we will show how to start a bottle tower with pictures illustrating the different steps:
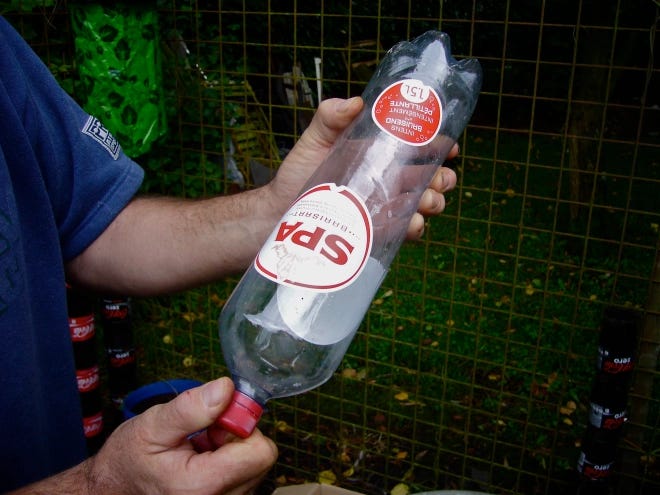
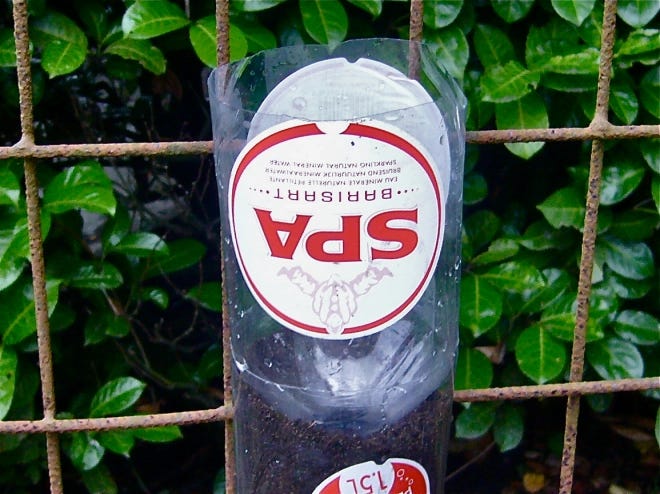
Leave the lid on bottle No. 1 (Photo WVC)

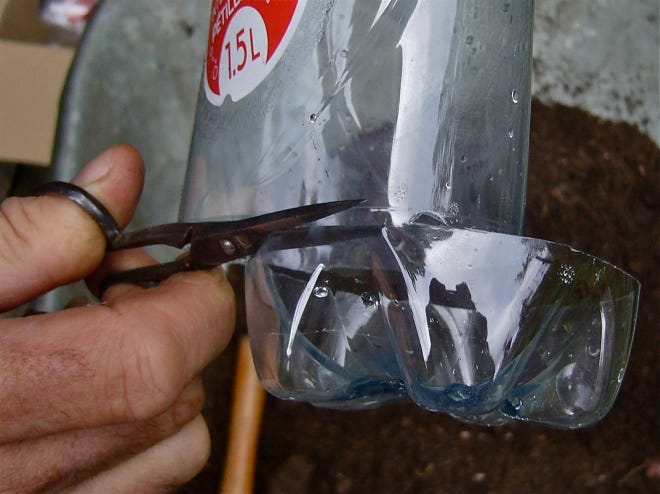
Cut the bottom part of bottle No. 1 (Photo WVC)

Cut off the bottom part of the bottle No. 1 (Photo WVC)
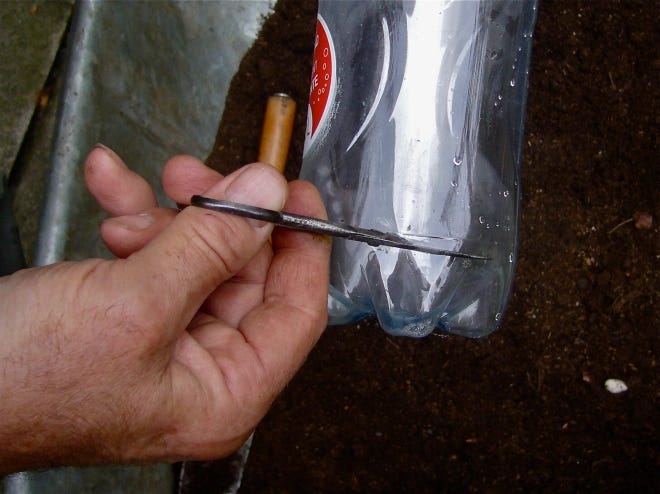
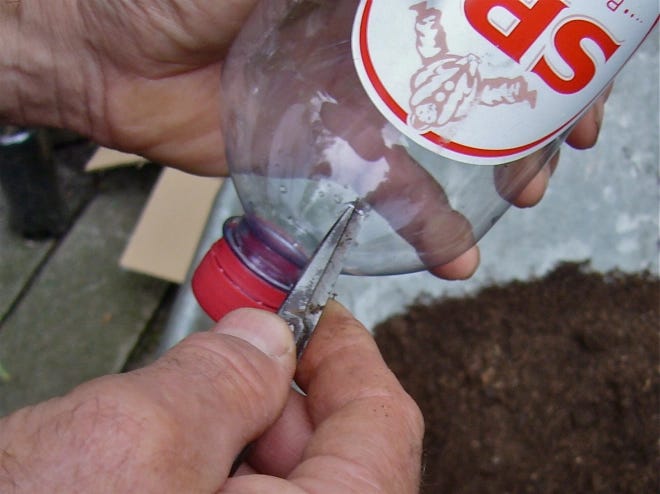
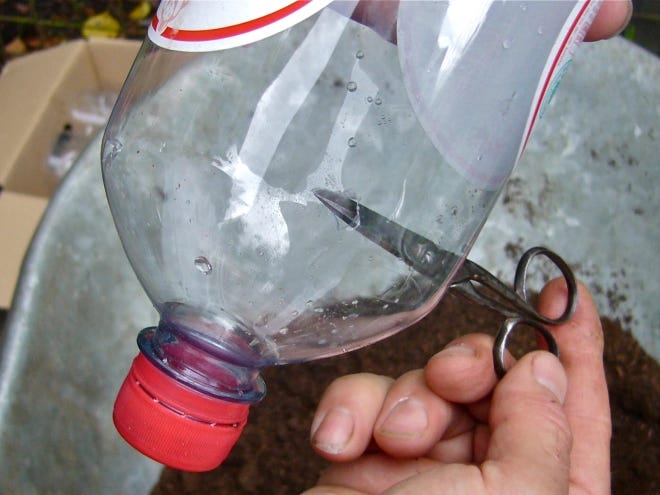
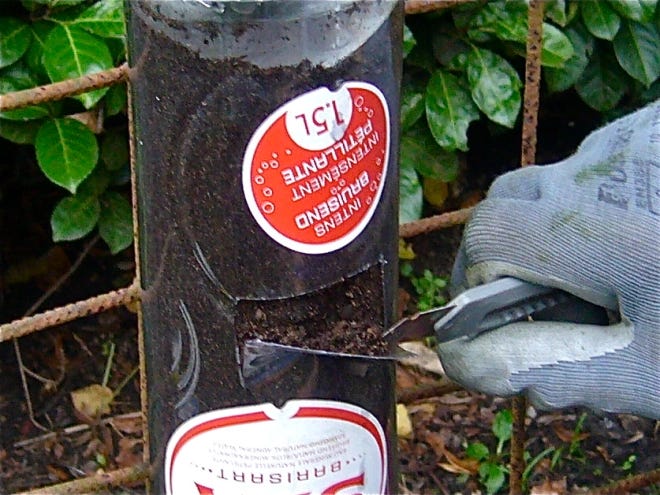
Perforate the wall of bottle No. 1 using a sharp object (here scissors) at 2-4" (5-10 cm) from the top of the lid (Photo WVC)

Create a second perforation (drainage hole) diagonally across the bottle No. 1. Keep a small reserve of water below the two holes in the bottle. Any surplus of water can be evacuated through these drainage holes (Photo WVC)

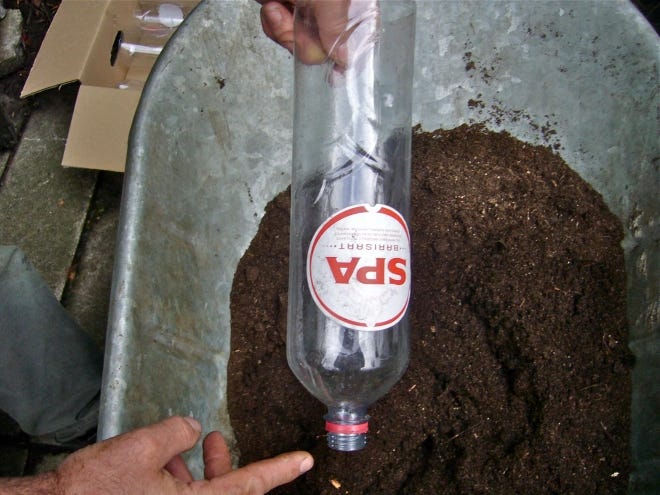
Fill bottle No. 1 with potting soil (or a mixture of dirt and manure) up to 1-2" (2.5-5 cm) of the edge of the bottle (Photo WVC)
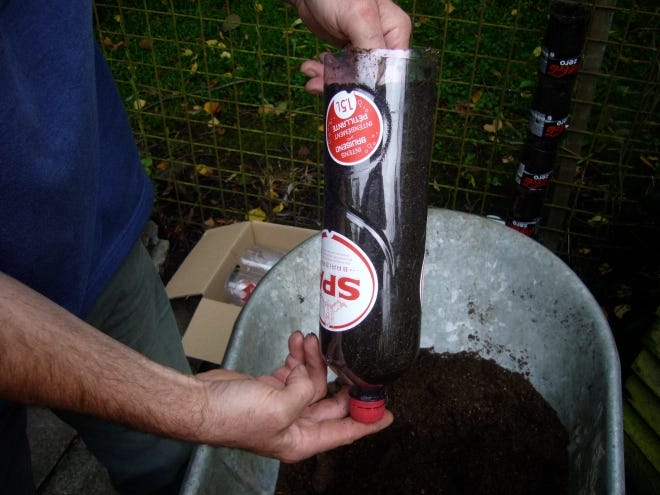
Use bottle No. 1 as the bottom bottle of the future tower (Photo WVC)
For the next three bottles (No. 2, 3, and 4, without the two drainage holes), remove the lid and cut off the bottom part (Photo WVC)

After filling the three bottles (No. 2, 3, and 4) with potting soil, place them on top of the bottom bottle of the tower (Photo WVC)
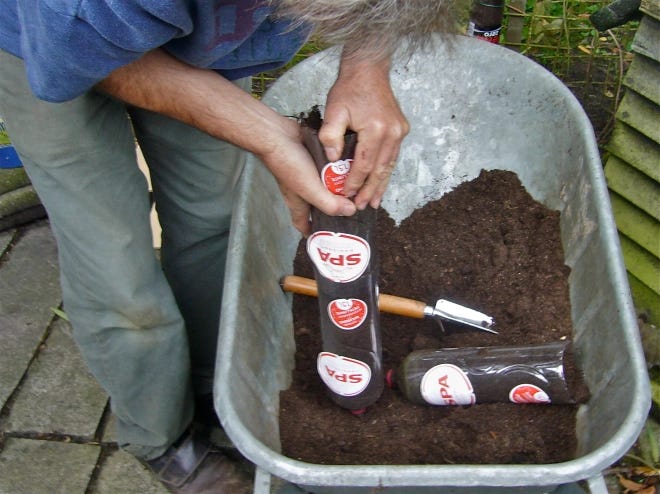
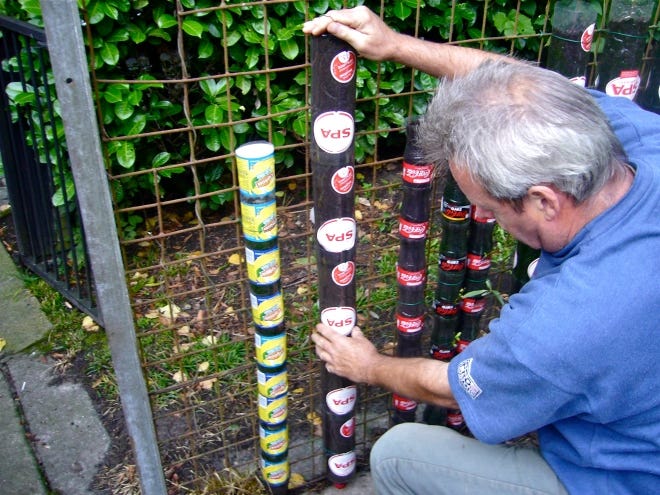
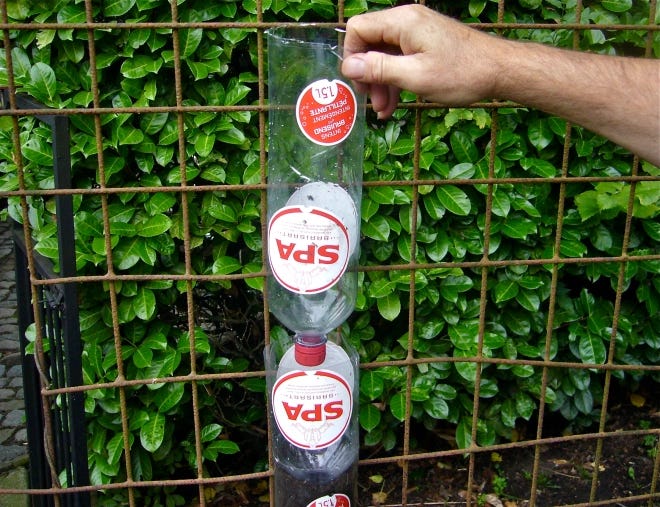
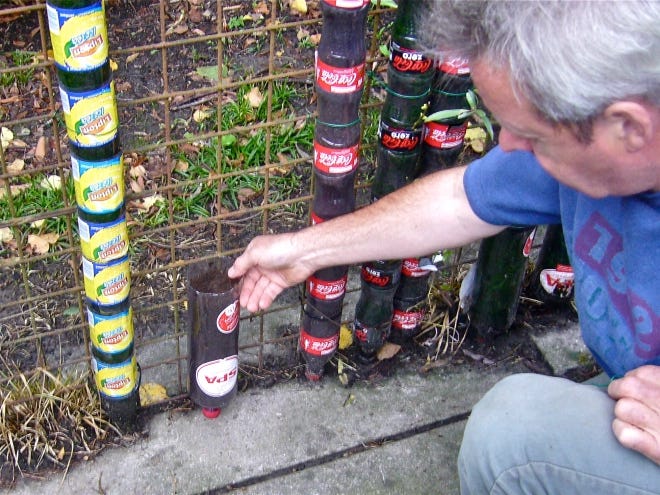
Create a tower of the four bottles (Photo WVC)

Keep the bottle tower upright with a couple of simple wires (Photo WVC)

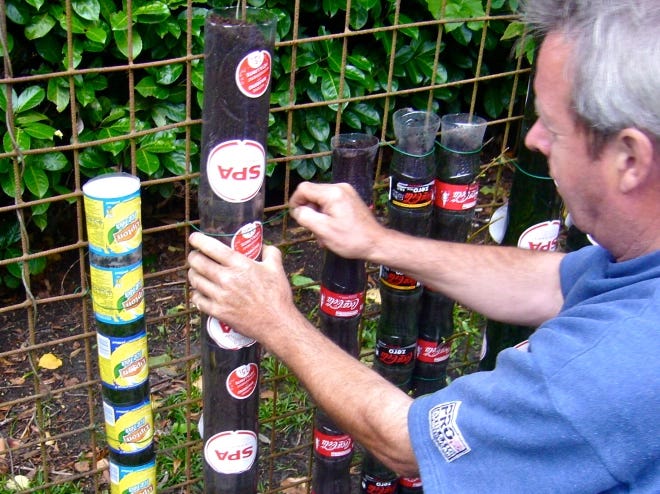
Use the top part of a bottle (No. 5, without the lid) as a funnel and push the bottleneck into the soil of the upper bottle No. 4 (Photo WVC)

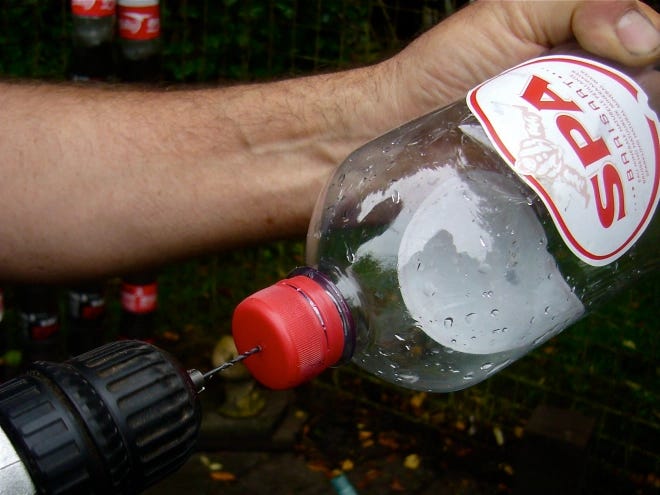
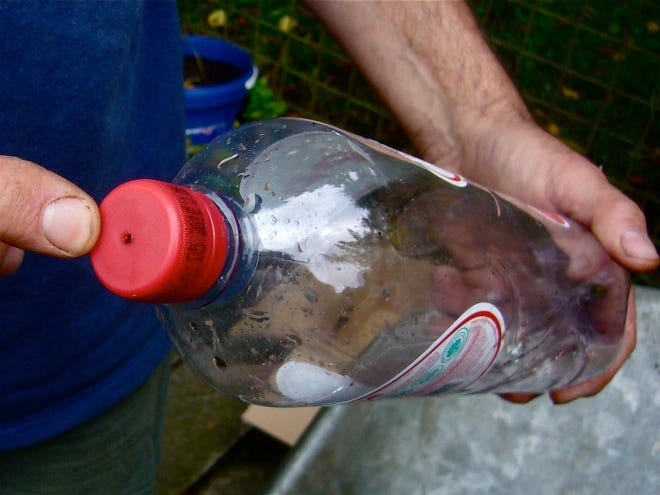
Use bottle No. 6 as a watertank on top of the funnel (Bottle No. 5). Create a small (1 mm) perforation in the lid using a drill (Photo WVC)

Use bottle No. 6 as the top bottle, as a watertank with water slowly running through the small hole (Photo WVC)
Push the watertank bottle No. 6 into bottle No. 5, the funnel (Photo WVC)

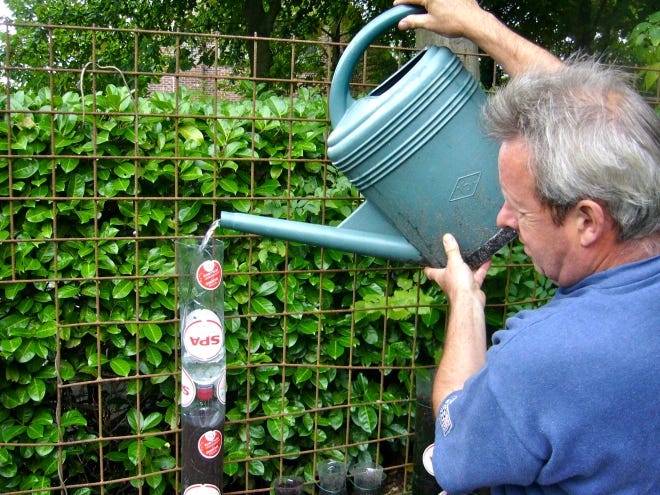
Gradually moisten the whole tower by pouring water into the top bottle No. 6 with its perforated lid. Water drips into the funnel (Bottle No. 5) and infiltrates the potting soil of bottles No. 4, 3, 2, and 1, where a possible surplus of water will be evacuated through the 2 drainage holes in the wall (Photo WVC)

Water runs slowly from the watertank (Bottle No. 6) into the funnel (Bottle No. 5), and from there, it enters the soil of Bottle No. 4 (Photo WVC)
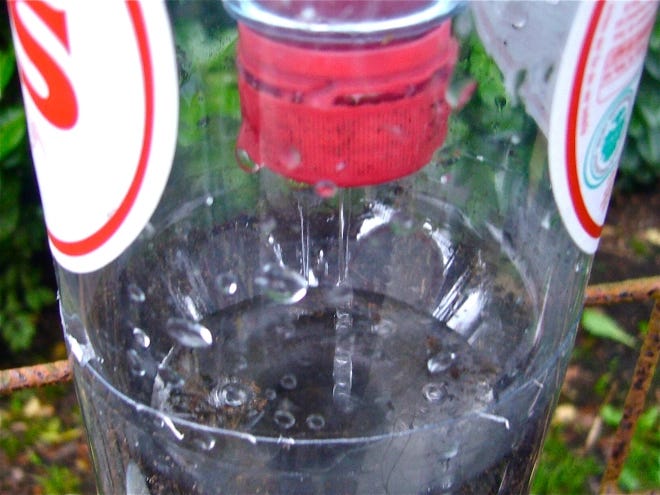
Water running slowly from the watertank (Bottle No. 6) into the funnel (Bottle No. 5) (Photo WVC)

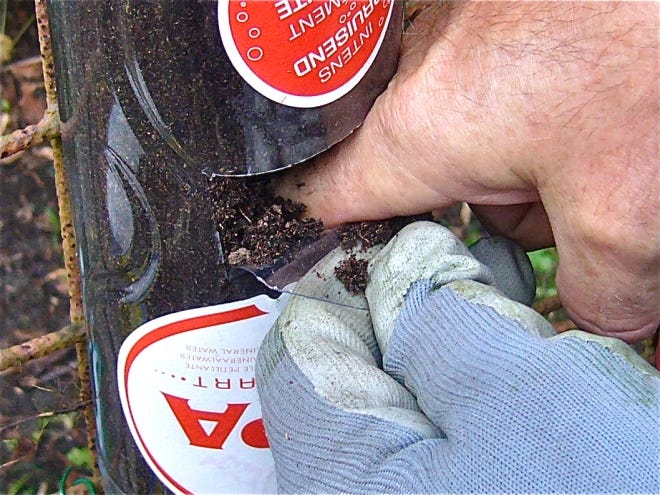
Use a sharp knife to cut a horizontal slit and two vertical slits in Bottles No. 4, 3, 2, and 1 (Photo WVC)
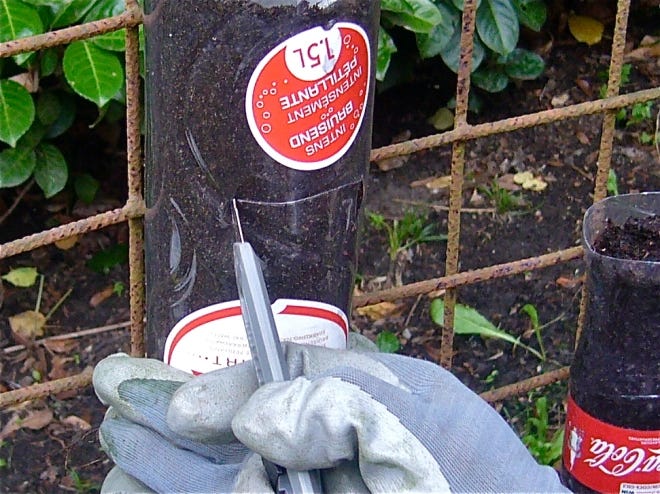
This creates a small "window" in Bottles No. 4, 3, 2, and 1 (Photo WVC)

Use a finger to push a small cavity in the potting soil (Photo WVC)
Plant the rootball of seedlings or young plants in the "window" of each bottle (Photo WVC)
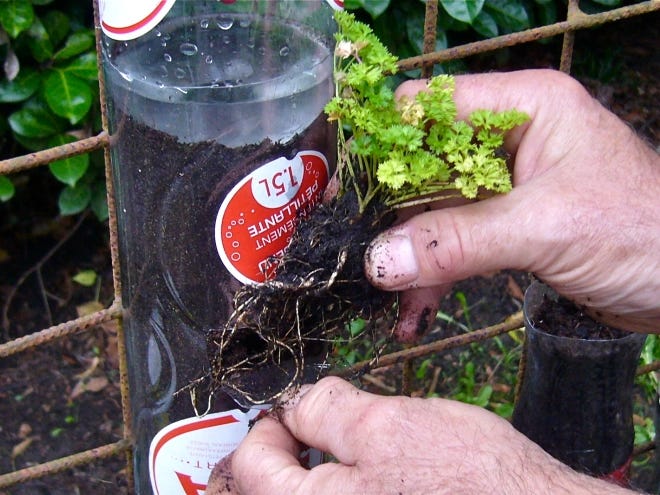
New roots will soon form in the humid potting soil, and the young plants will start to grow without needing regular watering because the entire tower loses very little water (almost no evaporation) (Photo WVC)
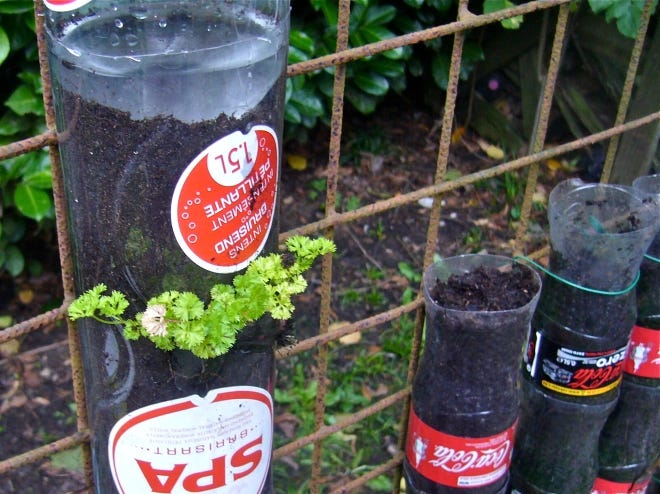
It only takes a couple of weeks to see all the vegetables and herbs planted in the "bottle windows" develop into fantastic fresh food, rich in vitamins and minerals (Photo WVC)
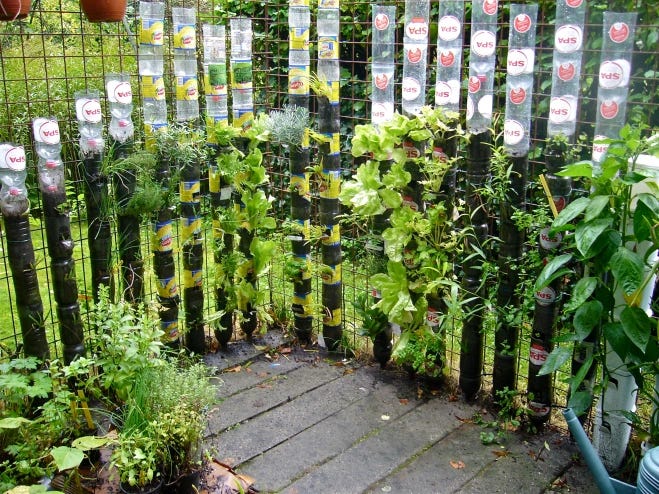
A remarkable kitchen garden is born with minimal means and effort. It can be set up at any location in rural and urban areas, making it a very effective tool in combating hunger, malnutrition, and poverty (Photo WVC)